
Project at a Glance
Contractor: Tom Ralston, Tom Ralston Concrete, Santa Cruz, Calif.
Client: A longtime resident of Monterey Bay, Calif., with a love of the sailing and the ocean. (He declined to be named.)
Project description: As part of an overall facelift of an older beach home, remove existing linoleum over concrete and install a new unique floor that captures the essence of the ocean.
Challenge: Emboss images of real seaweed in a 3/8-inch fast-setting overlay and stain it to match the colors of the water in Monterey Bay.
Products and materials: L.M. Scofield, Kemiko and Floric Polytech acid stains, Ardex SD-T self-drying cementitious topping
Project Profile: Beach House Floor with Seaweed Patterns, Monterey Bay, Calif.
by Chris Mayo
It makes sense to involve customers in the decisions leading up to a job. By that standard, Tom Ralston, president of Tom Ralston Concrete, is a sensible man.
His philosophy on involving customers?
“You could almost write a mathematical theorem about equal and opposite reactions when it comes to involving the customer,” he says. “The more you involve the customer from the job’s start to finish, the fewer problems you encounter in regard to his or her satisfaction with the end result. When customers are truly involved in as many aspects as possible, they have a better understanding of what it takes to create the end product — the planning and coordination involved, the intricacies of the materials you use, what you can and can’t fully control.”
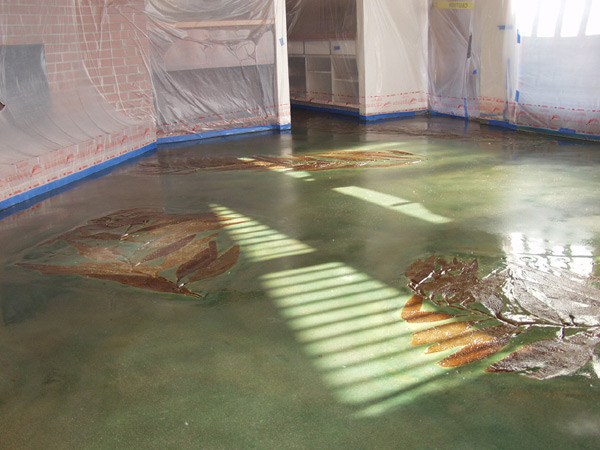
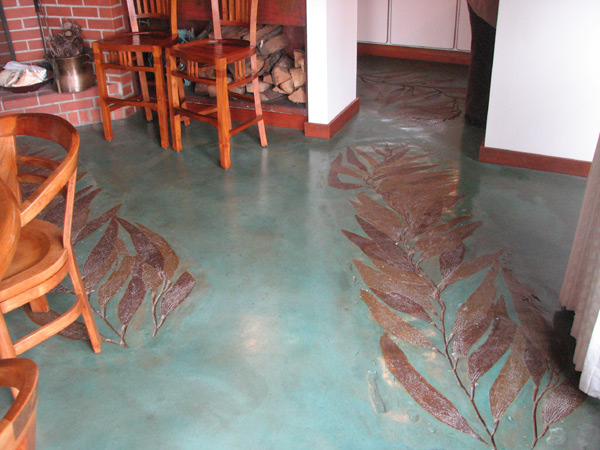
A case in point is a beach house floor Ralston’s company recently refurbished in Monterey Bay, Calif. The floor’s crown jewel from a decorative standpoint is a pattern created when randomly placed seaweed stamps, made from real seaweed, were laid in a 3/8-inch fast-setting overlay.
“The owner had lived in this house for about 25 years and, to be blunt, it looked it. The floor in the kitchen and living room was ugly linoleum on concrete. The kind of thing you saw 25 years ago. The linoleum had to go, but the slab was in good enough shape.”
Each of Ralston’s jobs starts with a brainstorming session with the customer. “I ask them to picture their ideal. A lot of the time they don’t know what their ideal is when we start talking. But with a little pushing and prodding we usually get there.”
This customer knew he wanted a facelift on his home. The home sits on the north shore of Monterey Bay — water on one side of the property, mountains on the other. The beach reaches to the back patio.
“We started out talking about a combination of mountains and beach, combining the feeling of the two into the floor,” says Ralston. “I’ve done something like that before, so I was able to show him pictures of something similar to what we were talking about.”
As they talked, Ralston realized that the man had a true passion for the ocean. “This guy loves the water. He sails once or twice a week and swims almost daily. So we shelved the idea of including the mountains and started concentrating on the water.”
“I kind of wondered out loud — what would happen if we had a huge storm that attacked the house? What would it look like when the water receded? There would be seaweed and shells and ocean debris,” recalls Ralston.
“When I mentioned seaweed he lit up.”
Seaweed becomes stamp
With the ideal identified, Ralston went to work. He took to the bay and snapped pictures of seaweed in its natural state. “The customer loved the contrast in the seaweed and the natural colors of the water.”
So the customer’s part was done, right? Not as far as Ralston was concerned. “The customer harvested a bunch of seaweed and participated in helping us decide how we were going to put it all together. We laid the clusters out on a brick patio so we could get a good perspective of them all. We had to decide how many to use and how big each one should be. We didn’t want a pattern that repeated, but we didn’t want it to be too busy either. We finally decided on five different good-sized clusters, about 3 feet wide by 4 feet long on average.”
Arriving at the concept for the job was only the first challenge. The limitations presented by the existing house created additional challenges. Ralston planned to expose the concrete floor by pulling up the linoleum and shotblasting the slab. After that, there was only enough room for a 3/8-inch overlay, in which he needed to press the seaweed patterns.
“We had to think about how we would make seaweed stamps, as we had never made stamps before, let alone stamps made from real seaweed. We also had to figure out how we were going to leave a recognizable and natural-looking image of the seaweed leaves without pushing the seed pods all the way through the thin overlay.”
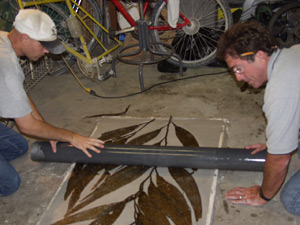
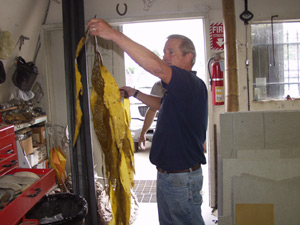
Ralston and his crew went to the shop to work out how they were going to fashion workable molds. By carefully rolling the seaweed into troweled clay, using a variety of different-sized rollers, they were able to create a thin mold that worked well. They then poured polyurethane rubber into the molds to make workable stamps.
Another challenge was to recreate the colors of the water in the bay. “I had to experiment with different stains and stain ratios to finally arrive at a color that matched,” Ralston says. He experimented with a combination of L.M. Scofield, Kemiko and Floric Polytech acid stains applied with a pump sprayer, spraying one color on top of another still-wet color. “It took half a dozen samples and well over 16 man-hours before we got the colors right.”
There was one more issue to resolve before the pour: The overlay (Ardex SD-T self-drying topping) had a set time of about three and a half to four hours, and the 550 square feet of floor needed to be coated monolithically. How were they going to get to the center of the two rooms to lay down the stamps?
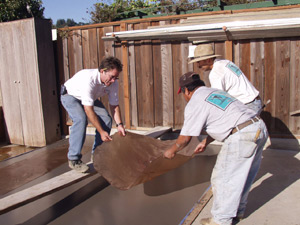
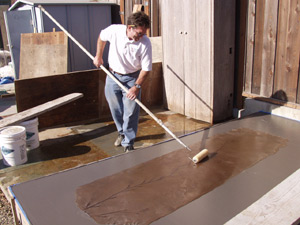
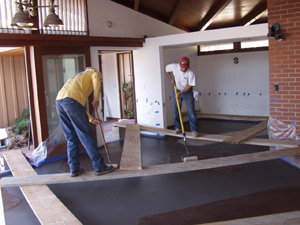
“Catwalks,” says Ralston. “The design called for the seaweed impressions to be randomly embossed. They’d look basically as you would see in a storm, strewn about on the floor. We would not be able to use the stamps ordinarily ganged together so a finisher could ‘walk’ from one area of the floor to the other on them. We set up a series of catwalks and did a dry run of laying the stamps in a random pattern. We practiced lightly rolling the stamps with paint rollers and carefully pulling the stamps up without leaving indentations from our fingers.”
Planning is everything
Ralston likes to leave as little as possible to chance on the day of a pour. “On this job, I needed to draw out a map beforehand and pre-position the stamps nearby so we wouldn’t be trying to remember where everything was supposed to go while the concrete was setting up.”
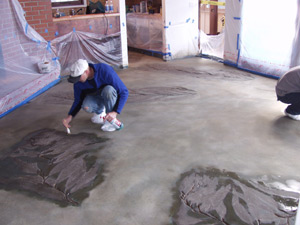
It took a coordinated, almost choreographed, effort to manage everything on the day of the pour. The crew only had about 30 minutes to set up the catwalks and set the stamps before the overlay dried. “To have enough time to get the stamping done on this job, we had to have the new overlay down and ready in no more than an hour and a half. We had one guy mixing, two guys running buckets in, one guy spreading with a gauge rake, and another guy with a spreader to knock down the bubbles and flatten and smooth the overlay. Then we had to set up the catwalks, set the stamps, carefully roll them and finally carefully remove them. We did the staining the next day.”
To Ralston, this was close to the perfect job. “I had a customer that wanted something unique, the challenge of creating something distinctive and out of the box, and ultimately a great end result. Moreover, since this was a very difficult job to bid, our client was willing to pay us on a time and material basis which turned out to be fair to both parties.”
